This thing called the Instant Pot as been the rage now for almost ten years. I still have a love hate relationship with it! Let me explain myself further. I really in so many ways have developed into a minimalist. My good friends that read my blog are saying to themselves right now “that’s a big fat lie Wanda!” because guess what you own 4 sets of china plus one that you have just for Christmas. Well in my mind I want to be a minimalist ? Doesn’t that count? I do keep the number of kitchen gadgets I own to a minimum because I hate cluttered cabinets. I debated for awhile before purchasing this so called Instant Pot. Would I use it enough to warrant the space needed to store this rather large piece of equipment? Did I have other equipment that could serve the same purpose? But alas intrigue of this Instant thing got the best of me and I found myself on Amazon giving in to my weakness. Cooking chicken breasts for tacos was my first experiment and it was a big fat failure with a capital F! The time saved was none and they were inedible. Case closed and The Instant Pot was packed into it’s box for nine months and did not see the light of day or the darkness of night . Then the most appealing cooking experiment appeared in one of my favorite magazines using your Instant Pot to make yogurt. I had to try it! Out of the box it came to never be returned. I love it when it comes to making Greek Yogurt and mine is used every 7-10 days without fail. It is the best Greek Yogurt!!!
The money saved is worth it after the initial investment of an Instant Pot and glass jars for storage. You could totally make this without the Instant Pot and it can be stored in a large container. So there you go it is a win win! Homemade Greek yogurt cost .04 cents an ounce compared to .14 cents per ounce from say Kroger. That’s .90 cents of savings per container! At our house we eat about 25-35 containers a month. That’s a savings of almost $300 a year just on yogurt!!! Plus it taste better and you add your own sweetener!
I’m giving you the lowdown on making the best Greek Yogurt you have ever had. This has no sweetener at all. In fact, it is really tangy and we like it that way. Add your favorite granola for sweetener as well as whatever fruit is in season. So you will not have any unseen sugar added! Another win for you and your family. You can cook with this stuff, too. Use it in the place of sour cream anytime. I love to bake with it. Delicious.
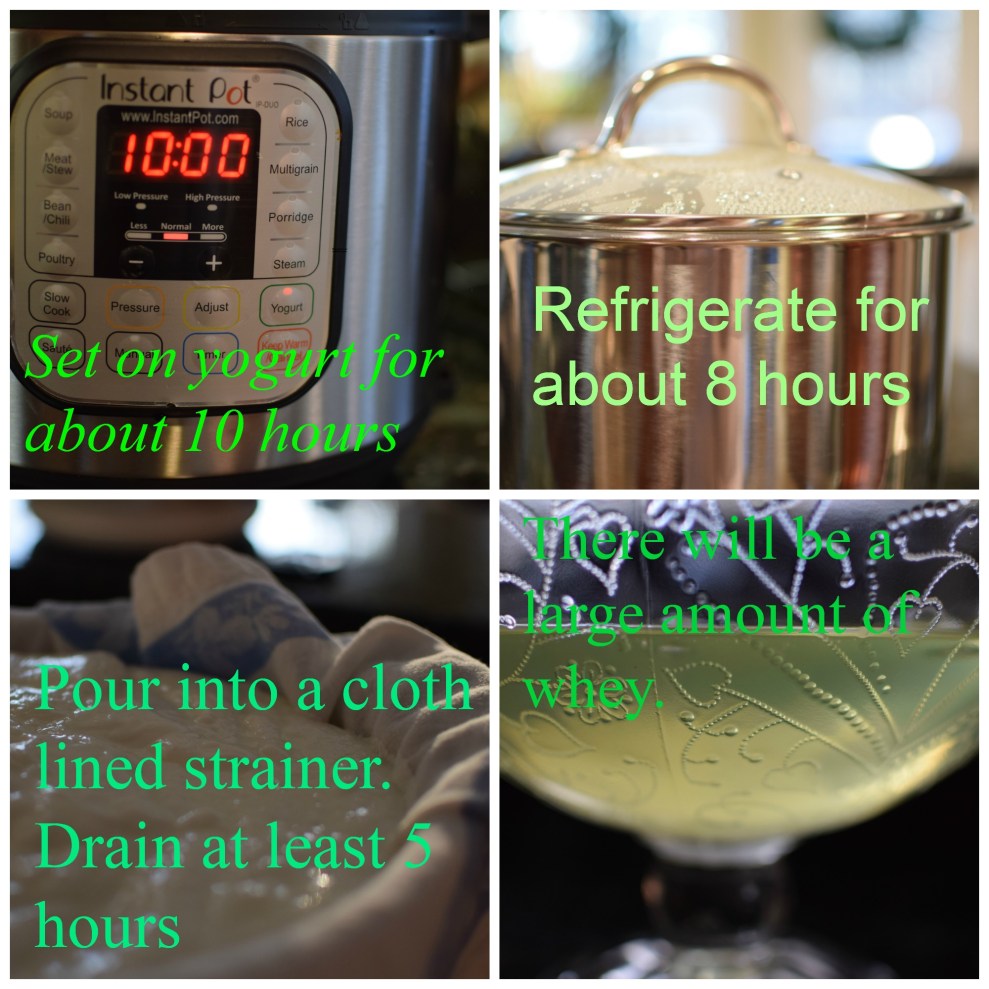
Maybe you want to take this a step further than I do and use the 8 or more cups of whey that is drained and make yourself some homemade ricotta cheese. Go for it with my blessing! I’m afraid with just the two of us that my effort will be wasted. Let me know if you try it out though.
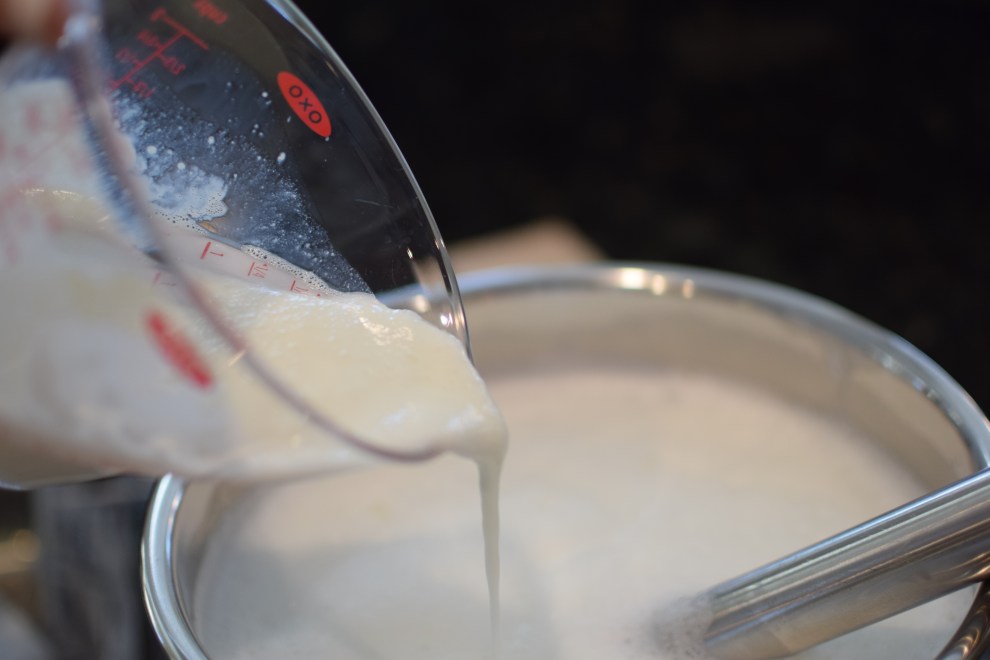
Pour a gallon of milk or half gallon into the Instant Pot. I use 1% or skim milk.
- Set the Instant Pot on Boil.
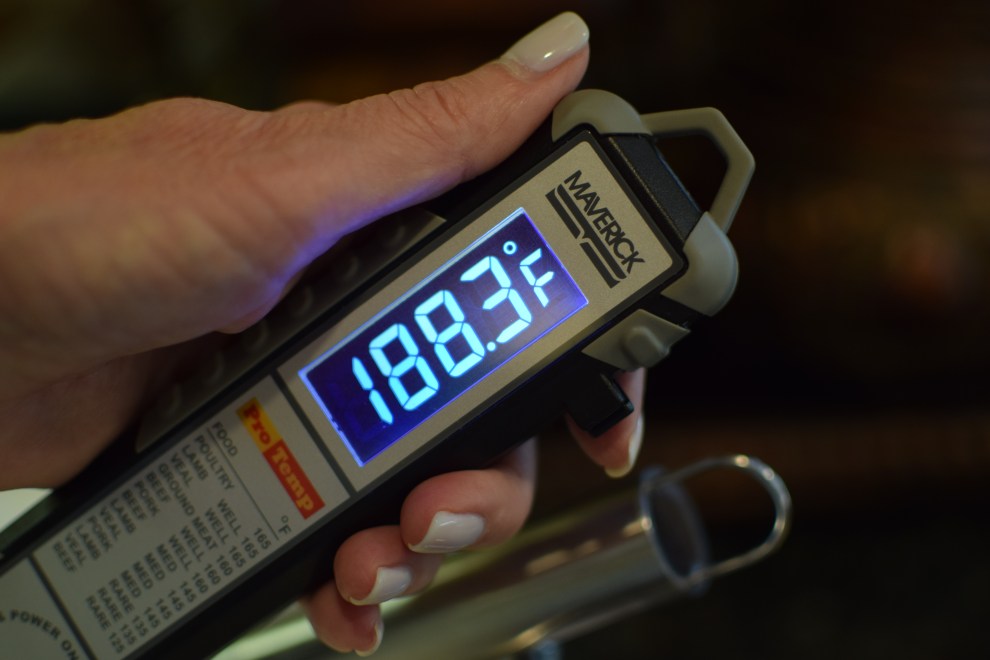
- The milk will need to reach a temperature of 185 degrees which will take about 55 minutes. Mine has never reached this temperature.
- Hit the saute button on the Instant Pot and start whisking the milk to keep it from scorching on the bottom and to get a true read with your thermometer.
- When the milk is 185 degrees take it off the heat. You can see that mine got a little hotter than 185. It turned out just fine though.
I cool mine in the sink with ice which takes about 20 minutes or just sit it on a trivet and let it cool for about 45 minutes. Make sure you whisk the milk before measuring temperature so you will have no hot spots. Temperature must be cooled to 110-95 degrees.
- Take out some of the cooled milk and put in a bowl with 2 tablespoons of plain greek yogurt with live culture. I started with Fage yogurt until I made my first batch. Wisk the cool milk with the 2 tablespoons of starter ( which is plain yogurt with live culture).
- Add the starter and milk back to your cooled gallon of milk.
- Put it back in the Instant Pot and set on the Yogurt setting and cook on normal. I set the timer for 10 hours. Do not Stir. This will give you a really good tangy taste.
- After 10 hours place in the refrigerator for 4- 8 hours. A spoon should stand up in the middle. Do not Stir!
- Now is the time to drain the whey. I have used several methods such as using cheesecloth, purchased bags that can be washed, but the one I prefer is lining a colander with a clean cotton dishcloth and placing in a large bowl. I usually let it drain for about 8 hours. Do not stir


Place in storage containers and refrigerate. Always keep 2 tablespoons for your starter. This can be frozen. I’ve never needed to freeze any because when I see that I have 2 servings left I will make more.
Enjoy!
 Who doesn’t love a pie that you can feed a crowd without the pressure of making two or three pies? I ran across
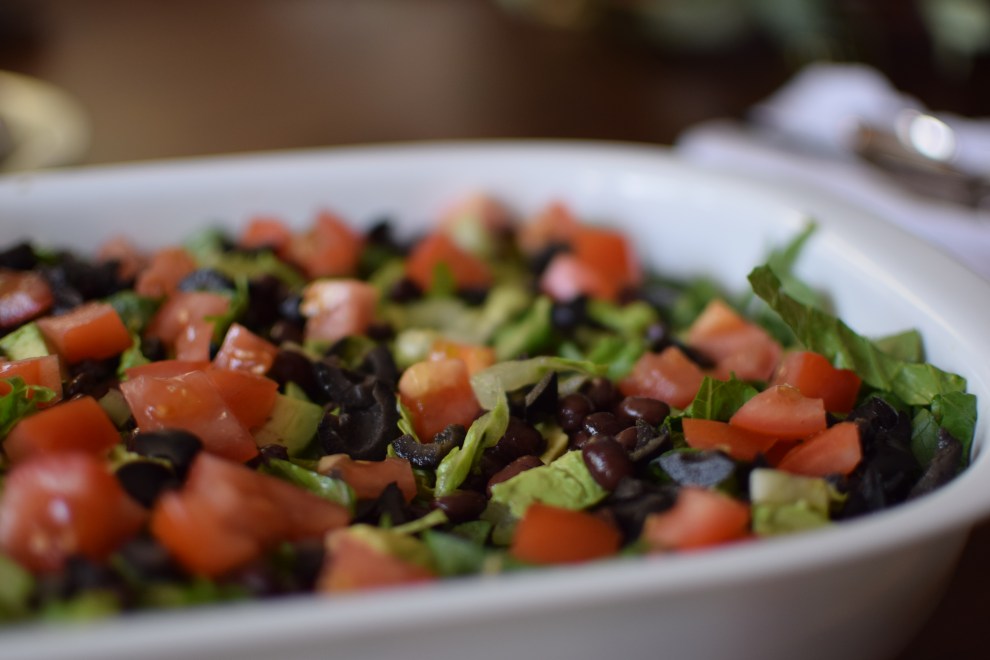
 I have not always been a fan of greens. Recently I have lived on the wild side tasting greens from several restaurants and I have found that I love them. In fact I can’t get enough of them, but a little scared to try my hand at making them at home. I was excited to see this no-fail recipe in the November issue of Southern Living. I had to try it and it is a big winner!