These nutty fingers hold a lot of memories for me. The first road trip that I ever took with GI Joe to Dallas, Texas I made these little sweet things to eat on the way. That was the start of a real romance! Almost every vacation, tennis tournament or TDY it was a given for me to make them.These little morsels of butter, flour and nuts just melt in your mouth and I am not exaggerating at all. So easy to make you can do it blindfolded and with one hand tied behind you. So get in the kitchen right now and put these little babies together. Here’s how you do it.
Nutty Fingers
- 1 cup butter, softened
- 5 Tablespoons of powdered sugar
- 2 cups plain flour
- 2 teaspoons vanilla
- 1/2 – 1 cup chopped pecans
Mix all the ingredients together. Shape into small balls or fingers. Place on a cookie sheet with parchment paper. Bake at 350 degrees for 20 minutes or until lightly browned. Roll in powdered sugar. After cooled roll in sugar again.
I can tell you these are not going to last very long on the cooling rack. I cannot control myself and end up popping them in my mouth as I roll them in the sugar. They are so good!!!
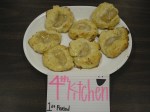
I took these to serve at my tennis match in these cute little foil papers, but the picture is blurry so I will not embarass myself. Just use your imagination and think about how cute they were in those little foil papers.
Happy Cooking,
The Teacher Cooks
Here are the pictures to guide you along:

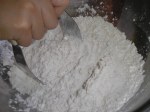
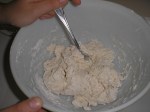
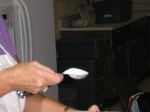
Soften butter and plain flour in a mixing bowl

Add 5 Tablespoons of powdered sugar

Add 1/2 to 1 cup of chopped pecans

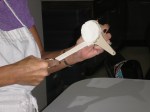
Mix together with wooded spoon

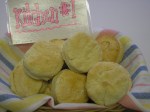
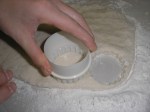
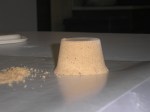
Shape and ready to bake

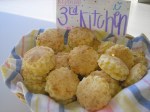
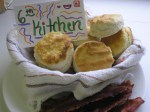
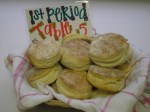
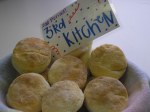
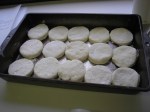
Out of the oven

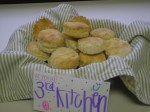
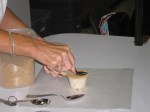
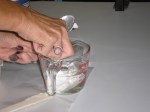
Roll in powdered sugar - TWICE

Cool on cooling rack