This is sooo good!!!
This is going to be the last of tomatoes and okra for a while. At least fresh! The Alabama girl gave me this delicious recipe. She and I taught together for 3 1/2 years. She is a great teacher and a great cook. I miss her terribly,but that is another story. Anyway, last year we had a potluck dinner and she brought this dish and I am going to share it with you.
I get fresh vegetables from the CSA in our area and had a pound of okra to work with. If you do not have fresh okra frozen will work.
Tomato Okra Casserole
- 6 Tbl. onion chopped
- 2Tbl. Bacon grease
- 1/4 t. curry powder
- 1/4 t. red pepper
- 2 1/2 T Parmesean Cheese
- 1 qt. tomatoes peeled cooked or canned
- 1/2 t paprika
- 1 T sugar
- 1 1/2 t salt
- 8 Ritz crackers crushed
Saute onions in bacon grease.

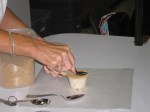
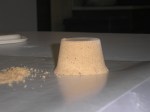
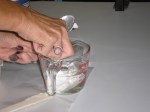
Here is how I got the bacon grease. Save the bacon for later.

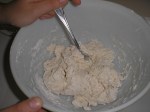
Sauteing onions

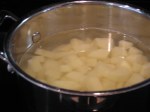
Add okra and cook until tender.

Add tomatoes and seasonings. Stir well.

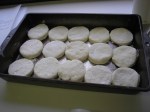
Put in greased casserole
Top with cheese and crackers. Bake at 350 degrees for about 35 minutes. You are going to love this!!! The okra is not slimy it is just plain good.
Happy cooking,
The Teacher Cooks