A Chocolate Lovers Dream!!
The last two days here have been bad!! I am praying for all the families that have lost loved ones in this horrible rain. We have been very blessed, but I can tell you first hand what it is like to have your house flooded. It is just stuff, though. Anyway…….. We need something to make us all feel better so let’s talk chocolate. This is my GO TO dessert for company, ALTA, potluck, parties and brunch. You get the picture. It works for most any event. I promise you all your friends and family will love it!!!
I first became acquainted with this special cake when I was a new teacher in Wilkinson County. Marjoe Baisden gave me her version. Since then I have tweaked it a bit. So here it is for you to just put your face into it if you want to. That is what GI Joe wants to do every time that I make it. He likes it hot with vanilla ice cream, but I have seen him eat right out of the pan with a spoon.
Yummy Chocolate Sheet Cake
- 2 cups sugar
- 2 cups self rising flour
- 2 sticks of butter
- 1 cup water
- 1/4 cup cocoa
- 1/2 cup buttermilk
- 2 eggs
- 1 teaspoon vanilla
Mix dry ingredients. In saucepan melt butter, cocoa and water on low heat. Add to dry ingredients. Mix. (DO NOT use a mixer) Slightly beat eggs, buttermilk and vanilla. Add to mixture. Mix. Pour into a 15 x 10 x 1 in. jelly roll pan that has been greased and floured. Bake about 20 min. at 400 degrees.
Frosting
- 1 stick butter
- 3 Tablespoons cocoa
- 5 Tablespoons milk
- 1 box powdered sugar
- 1 cup chopped pecans
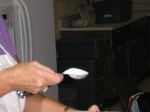
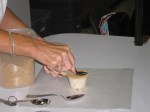
Melt butter, cocoa, and milk. Do this on low heat. If heated at too high a temperature the butter will clarify making your icing separate. Add to sugar and nuts. Mix. Frost cake while hot. Place icing by the tablespoon all over the cake then smooth out the frosting. This will keep from tearing the cake as you frost it. Here are pictures to guide you along. Enjoy!

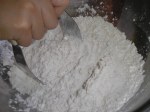
Flour and sugar in a mixing bowl

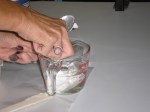
Melting butter, water and cocoa

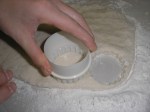
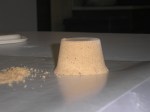
Greased and floured jelly roll pan

Melted butter, cocoa and water

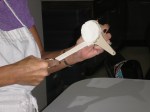
Whisking eggs, buttermilk and vanilla

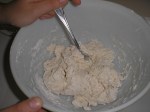
Mixing dry and wet ingredients

Ready to bake

Frosting - melting butter and cocoa

Powdered sugar, chocolate and nuts for frosting

Chocolate Icing

Cooked cake

Ready to dig into!!!